Images in Designer
In Designer, several functions allow you to import and/or manage image files:
- The Image function in the Attributes section of the Solids tab allows you to apply loaded images as textures on body faces.
- The Texture section in the Materials function allows you to define a texture image that represents the selected material.
In addition, the File Insert function allows you to insert image files that may the be used as background images, in Masks, etc.
Procedure
- Follow the steps 1 to 5 as described for Single file import in the File Insert topic.
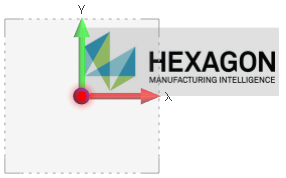
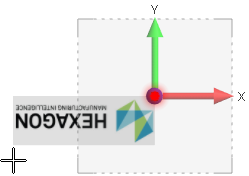
- Click a first point which is the anchor point of the image.
- Click a second point which defines the image size and orientation.
- Click to validate.
![]() Notes:
Notes:
- Once inserted, an image can be handled in the same way as any other entity. It can be selected, scaled (e.g. when applying a scale to a 2D drawing), moved, snapped on, edited, etc.
- Available formats are bmp, gif, jpg, png and tif.